Our Community Garden
The year 2020 began with lots of sadness and frustration that came from Covid virus driven physical restrictions and commodity shortages. A small group of friends got together and created a community garden where we grew more than enough produce for our families while enjoying the comradery a community garden provides.
What we did not expect was the overwhelming number of visitors who were curious about what we were doing and how they could replicate our garden. On this page I will share our experiences including techniques and reasoning about our choices.
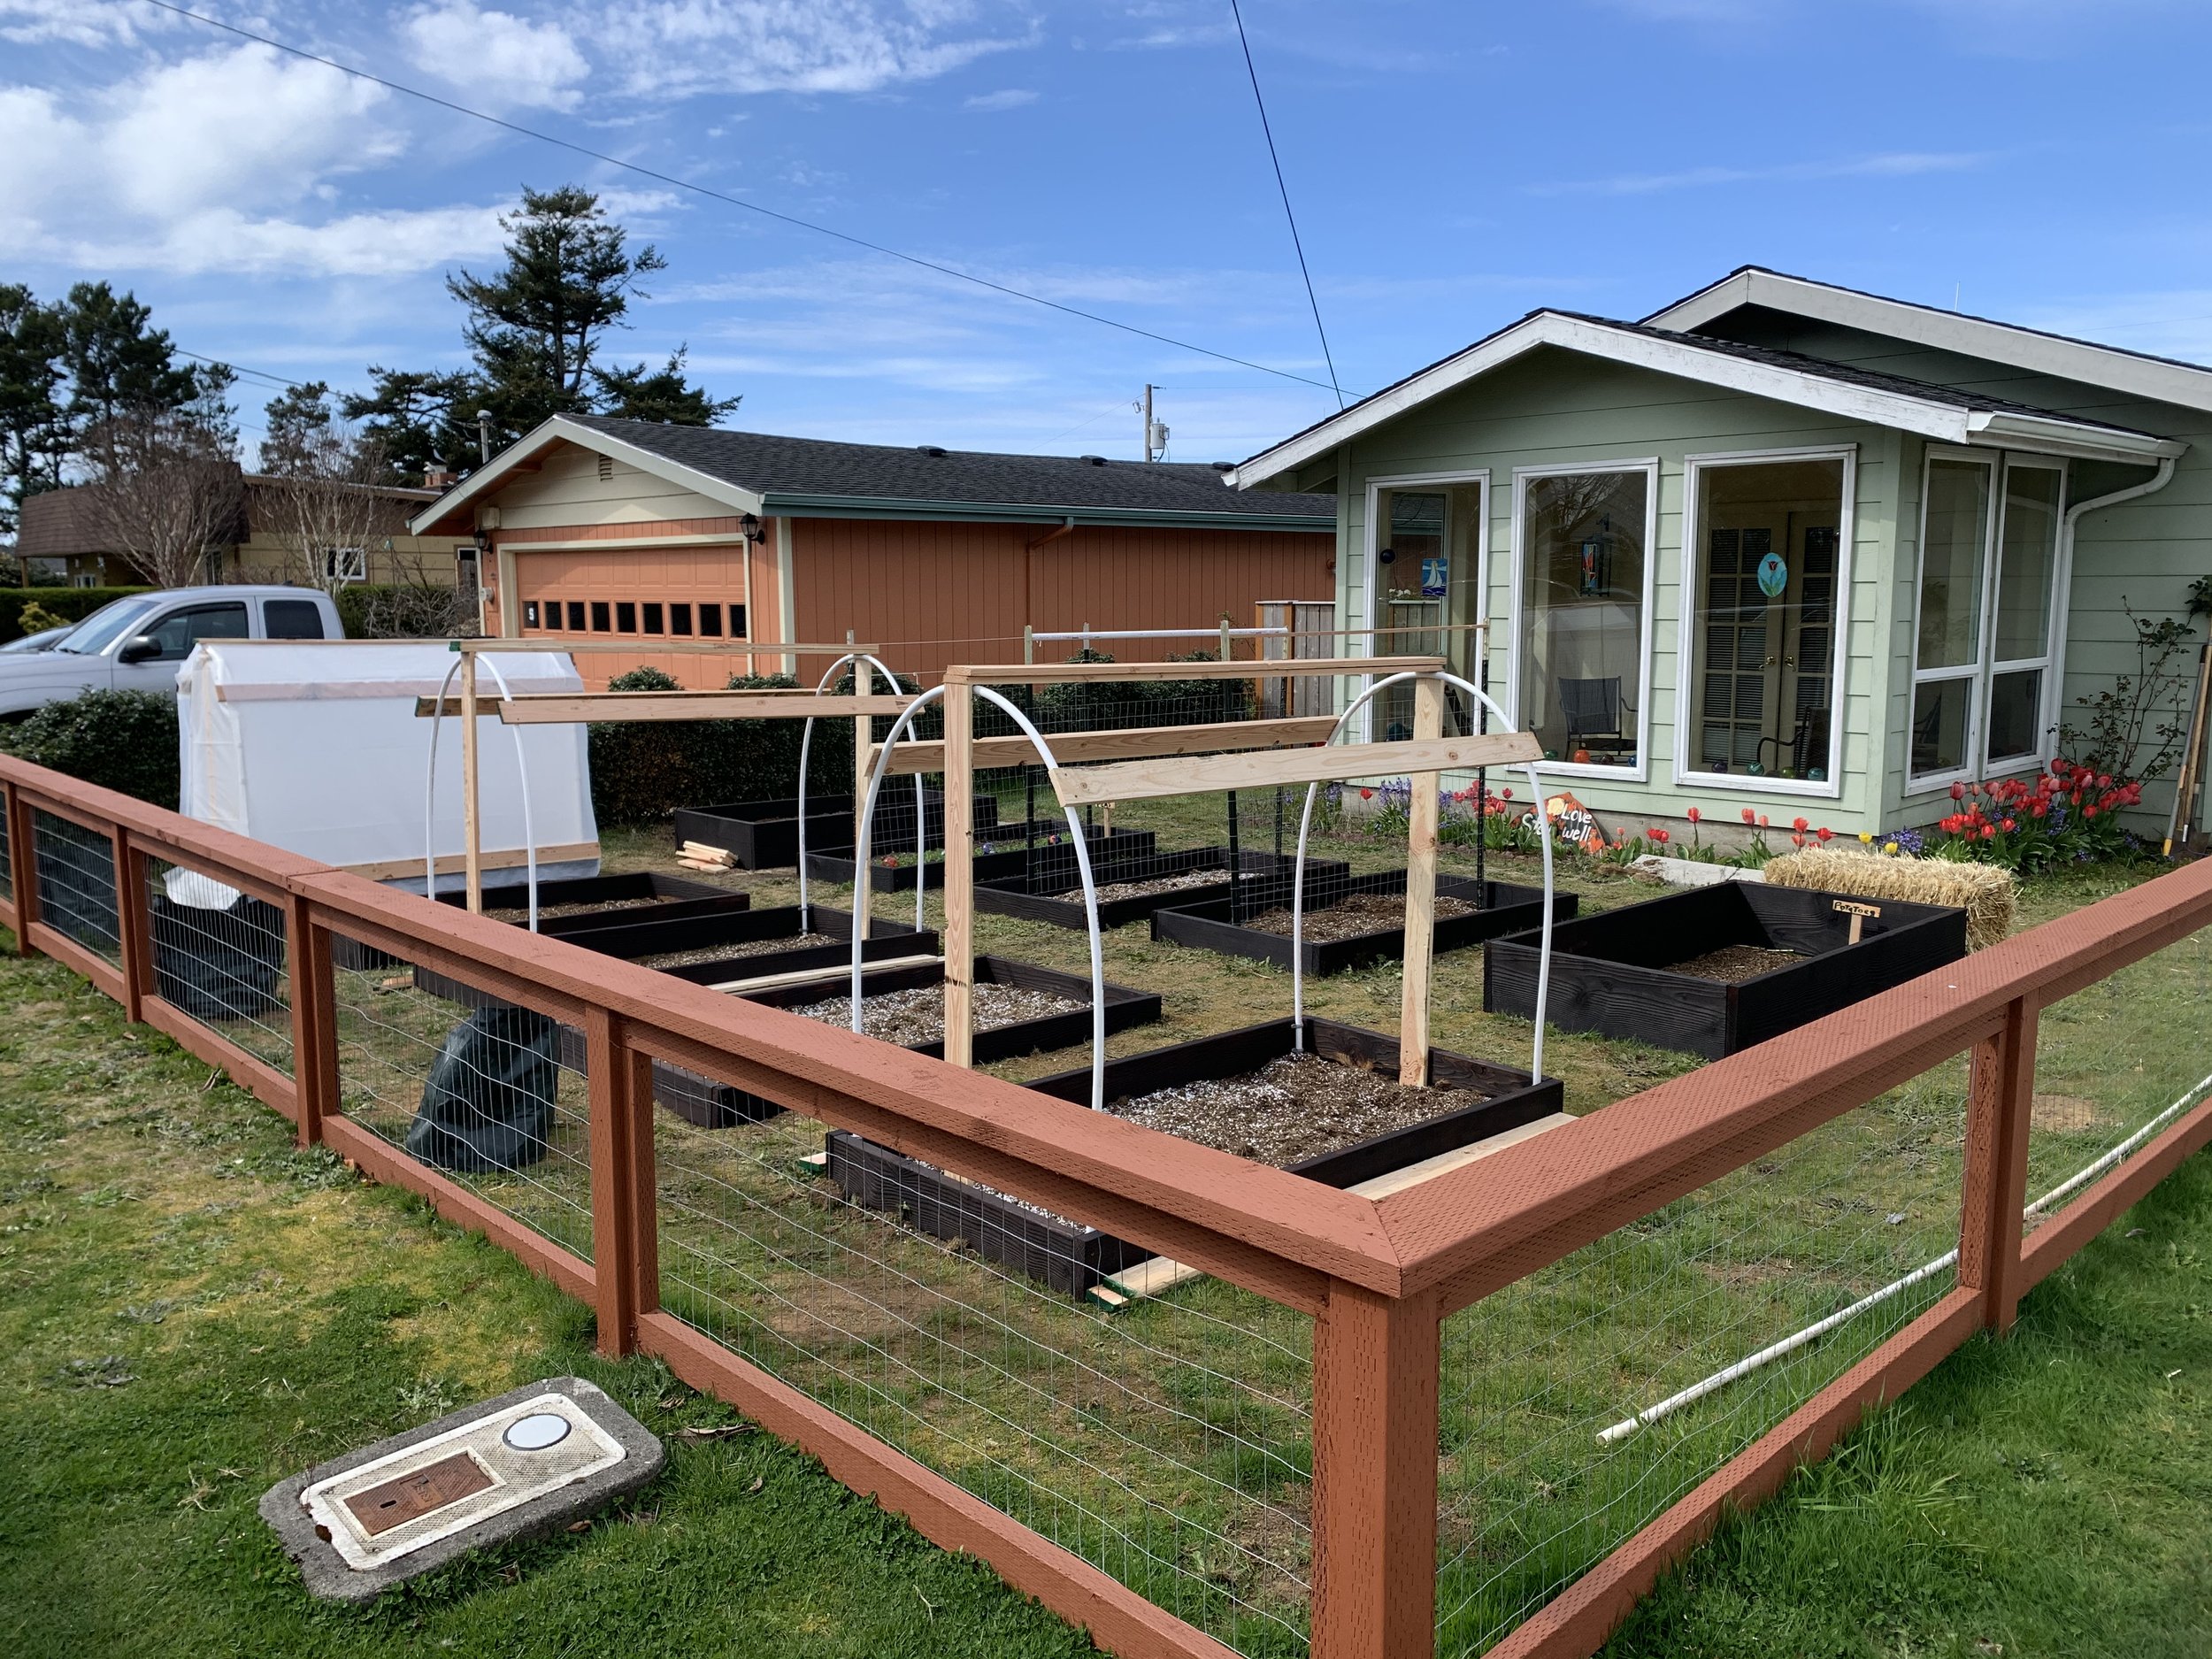
Our Community garden in early spring

Our south facing front lawn is the perfect spot for our garden.
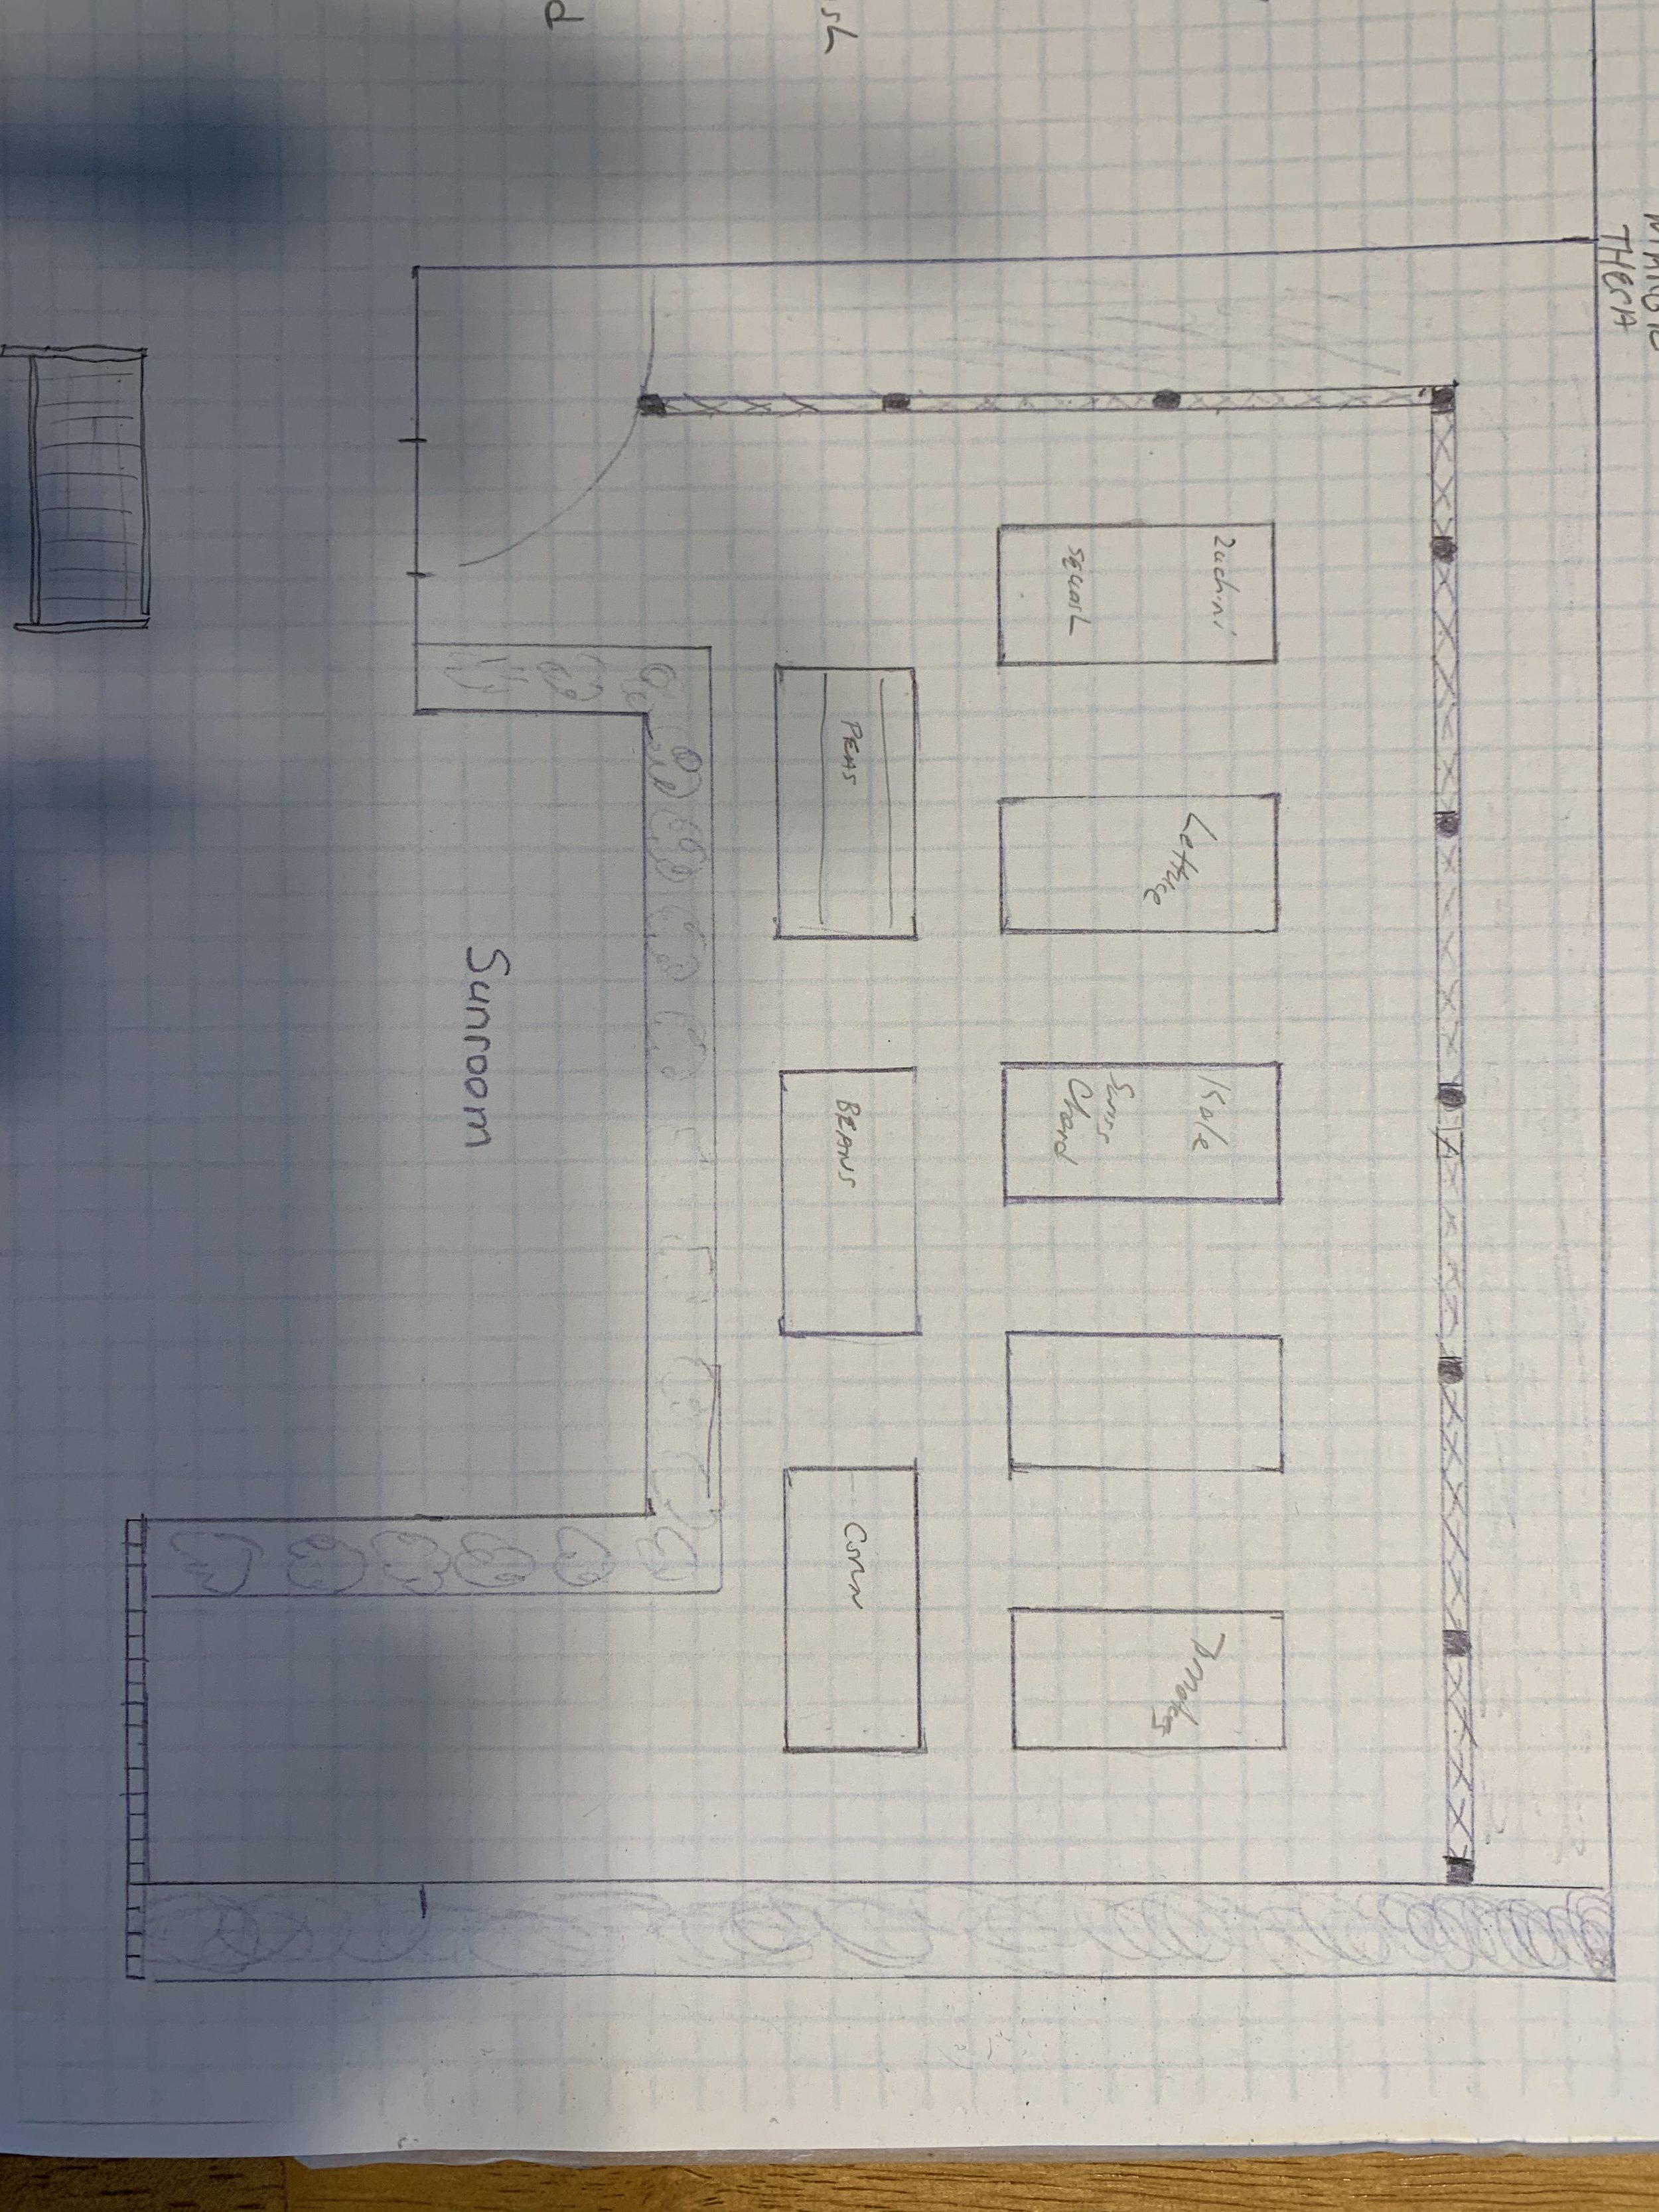
We started with a scale drawing of what we thought we wanted.

I used a can of marking paint to locate the fence and the entryway.

Our first work party resulted in all the fence posts cemented in place in just over four hours!

Our fence was designed to facilitate neighborly conversation. It is the perfect height to rest one's bottom during lengthy conversations about the garden. It is also wide enough to rest a cup of coffee or tea while visiting.
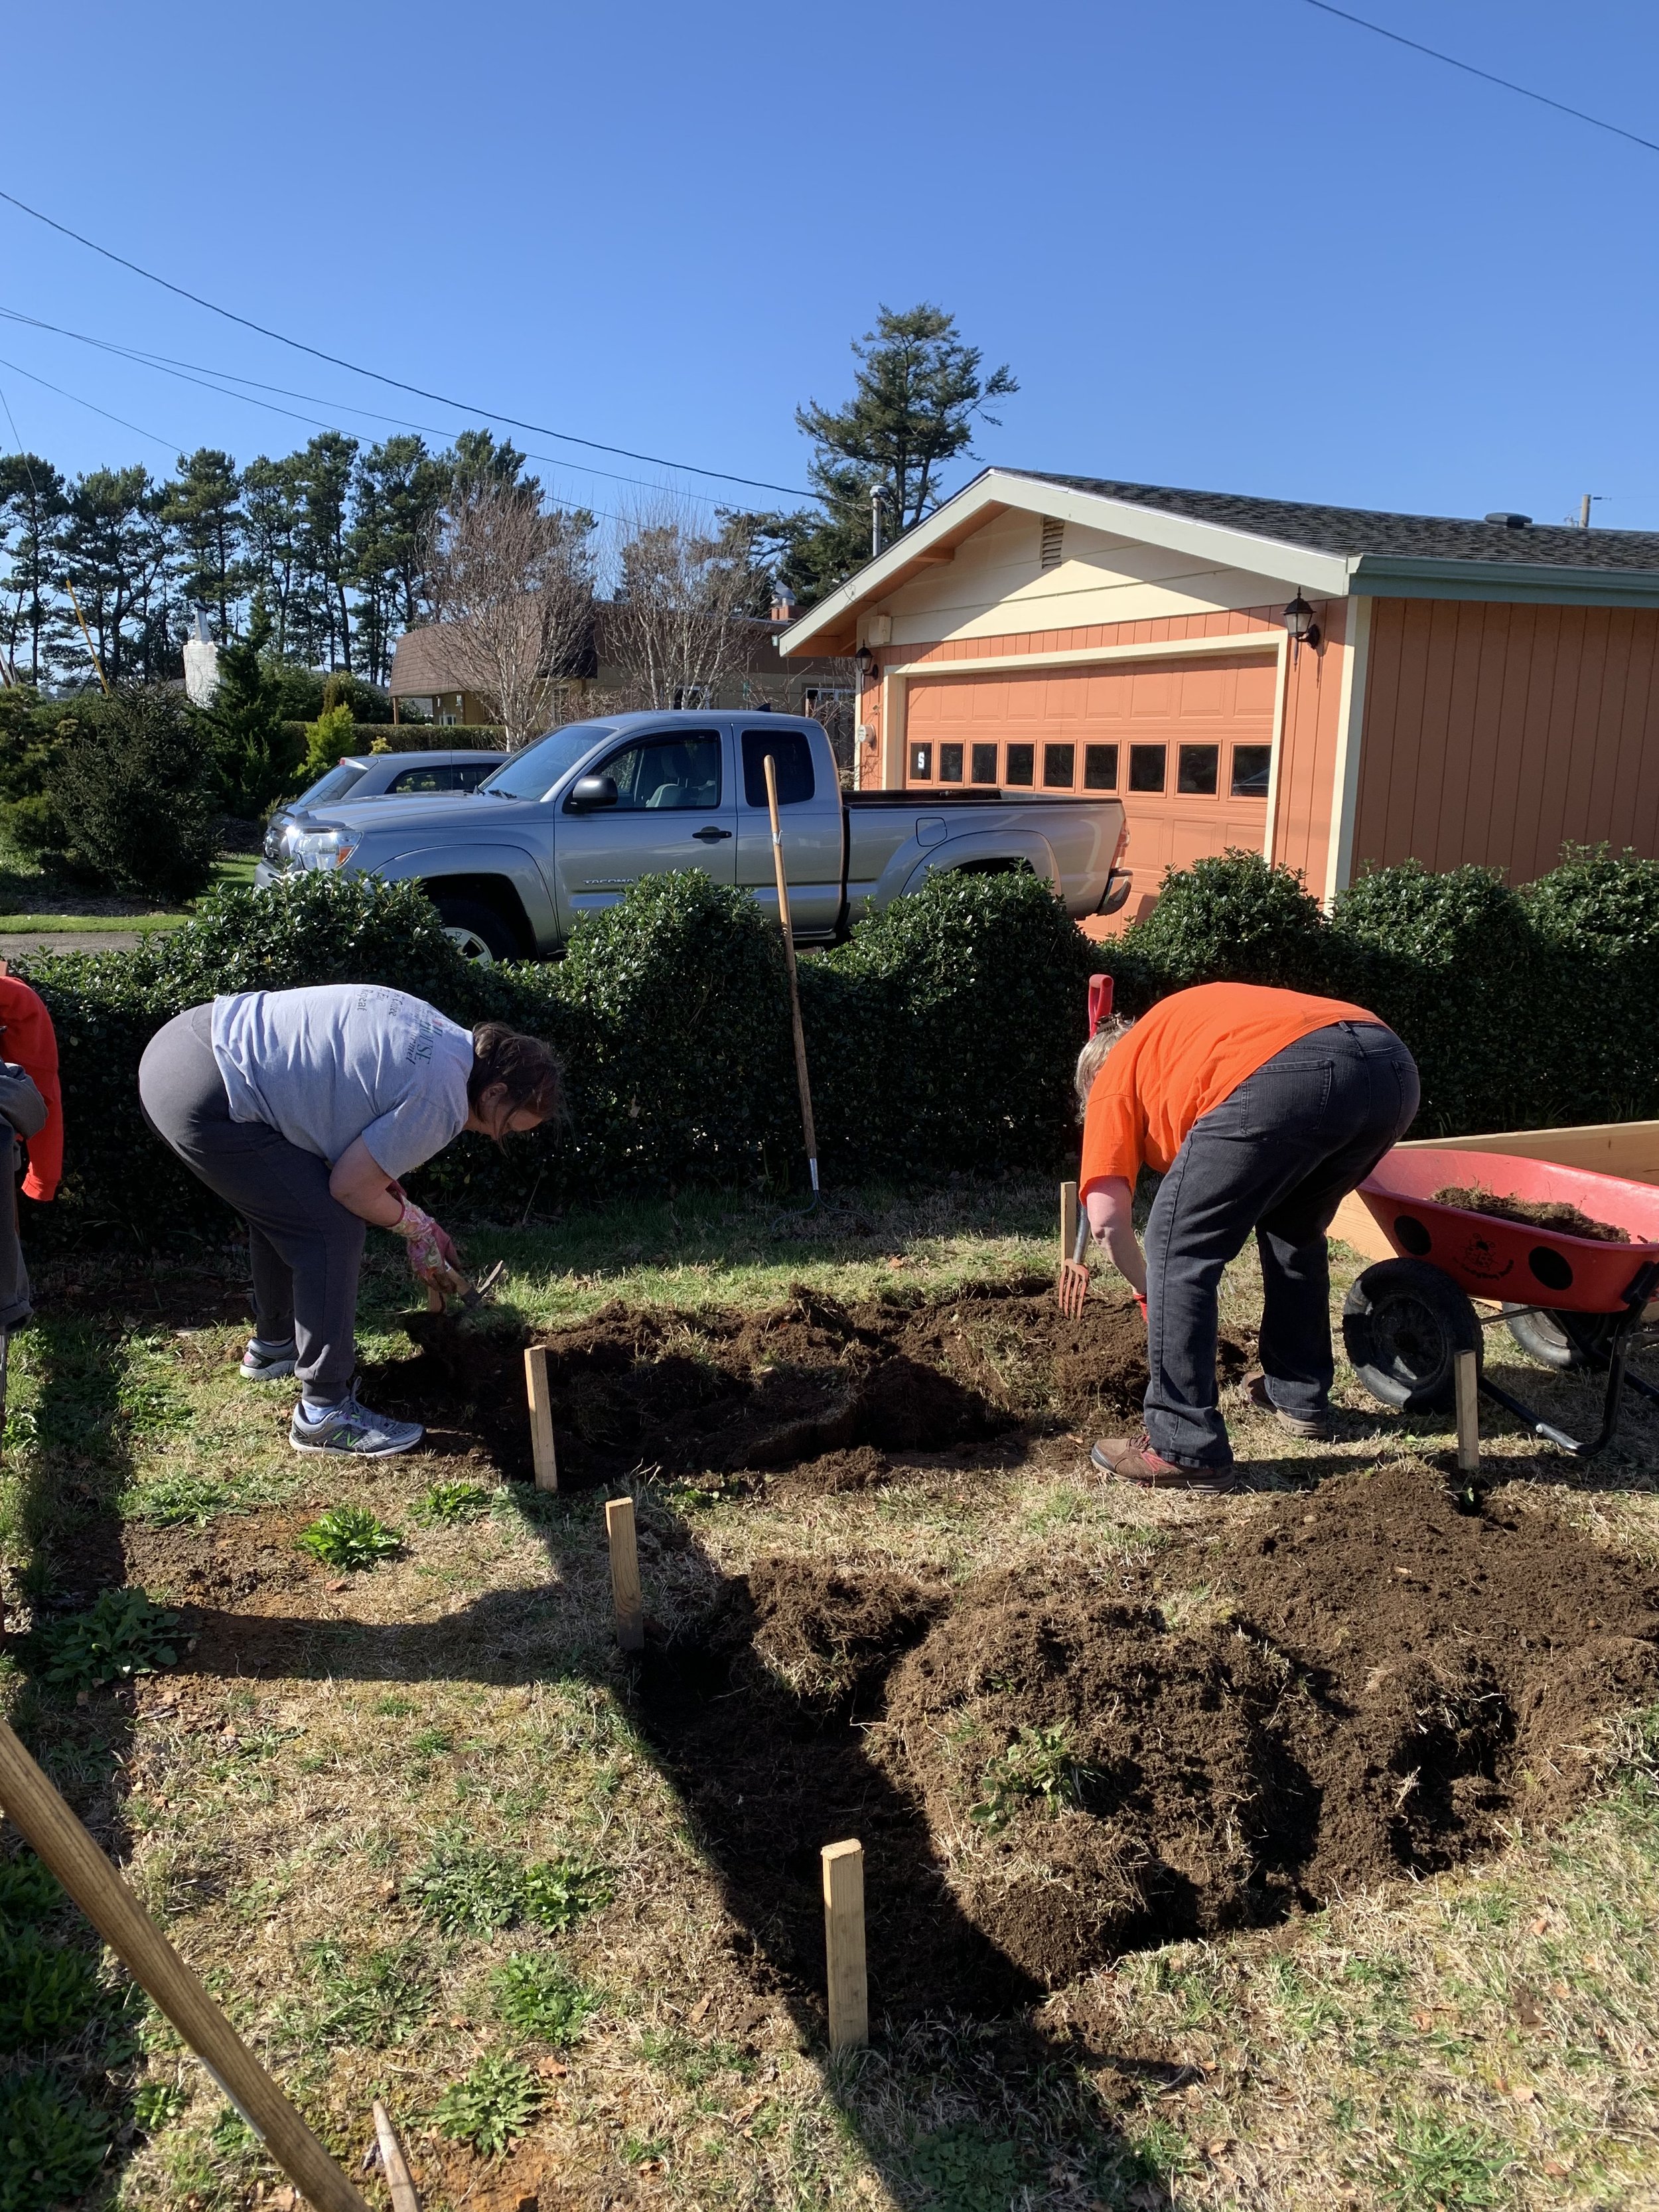
Probably the most difficult work was digging the grass out of each of the raised beds to prepare them for planting.

We constructed all the frames from 2 x 6 and 2 x 10 boards. We mixed Harvest Gold in with the soil for our beds.

We tried several layouts before deciding on the final configuration of our raised beds. We staked each plan out with string before choosing the best one.

We used a technique called Shou Sugi Ban to protect and preserve the wood used for the raised beds. Basically the wood is scorched with a torch then treated with mineral oil. Yes - we had to disassemble all the frames to apply this finish.

Shou Sugi Ban finished - the beds look pretty good!
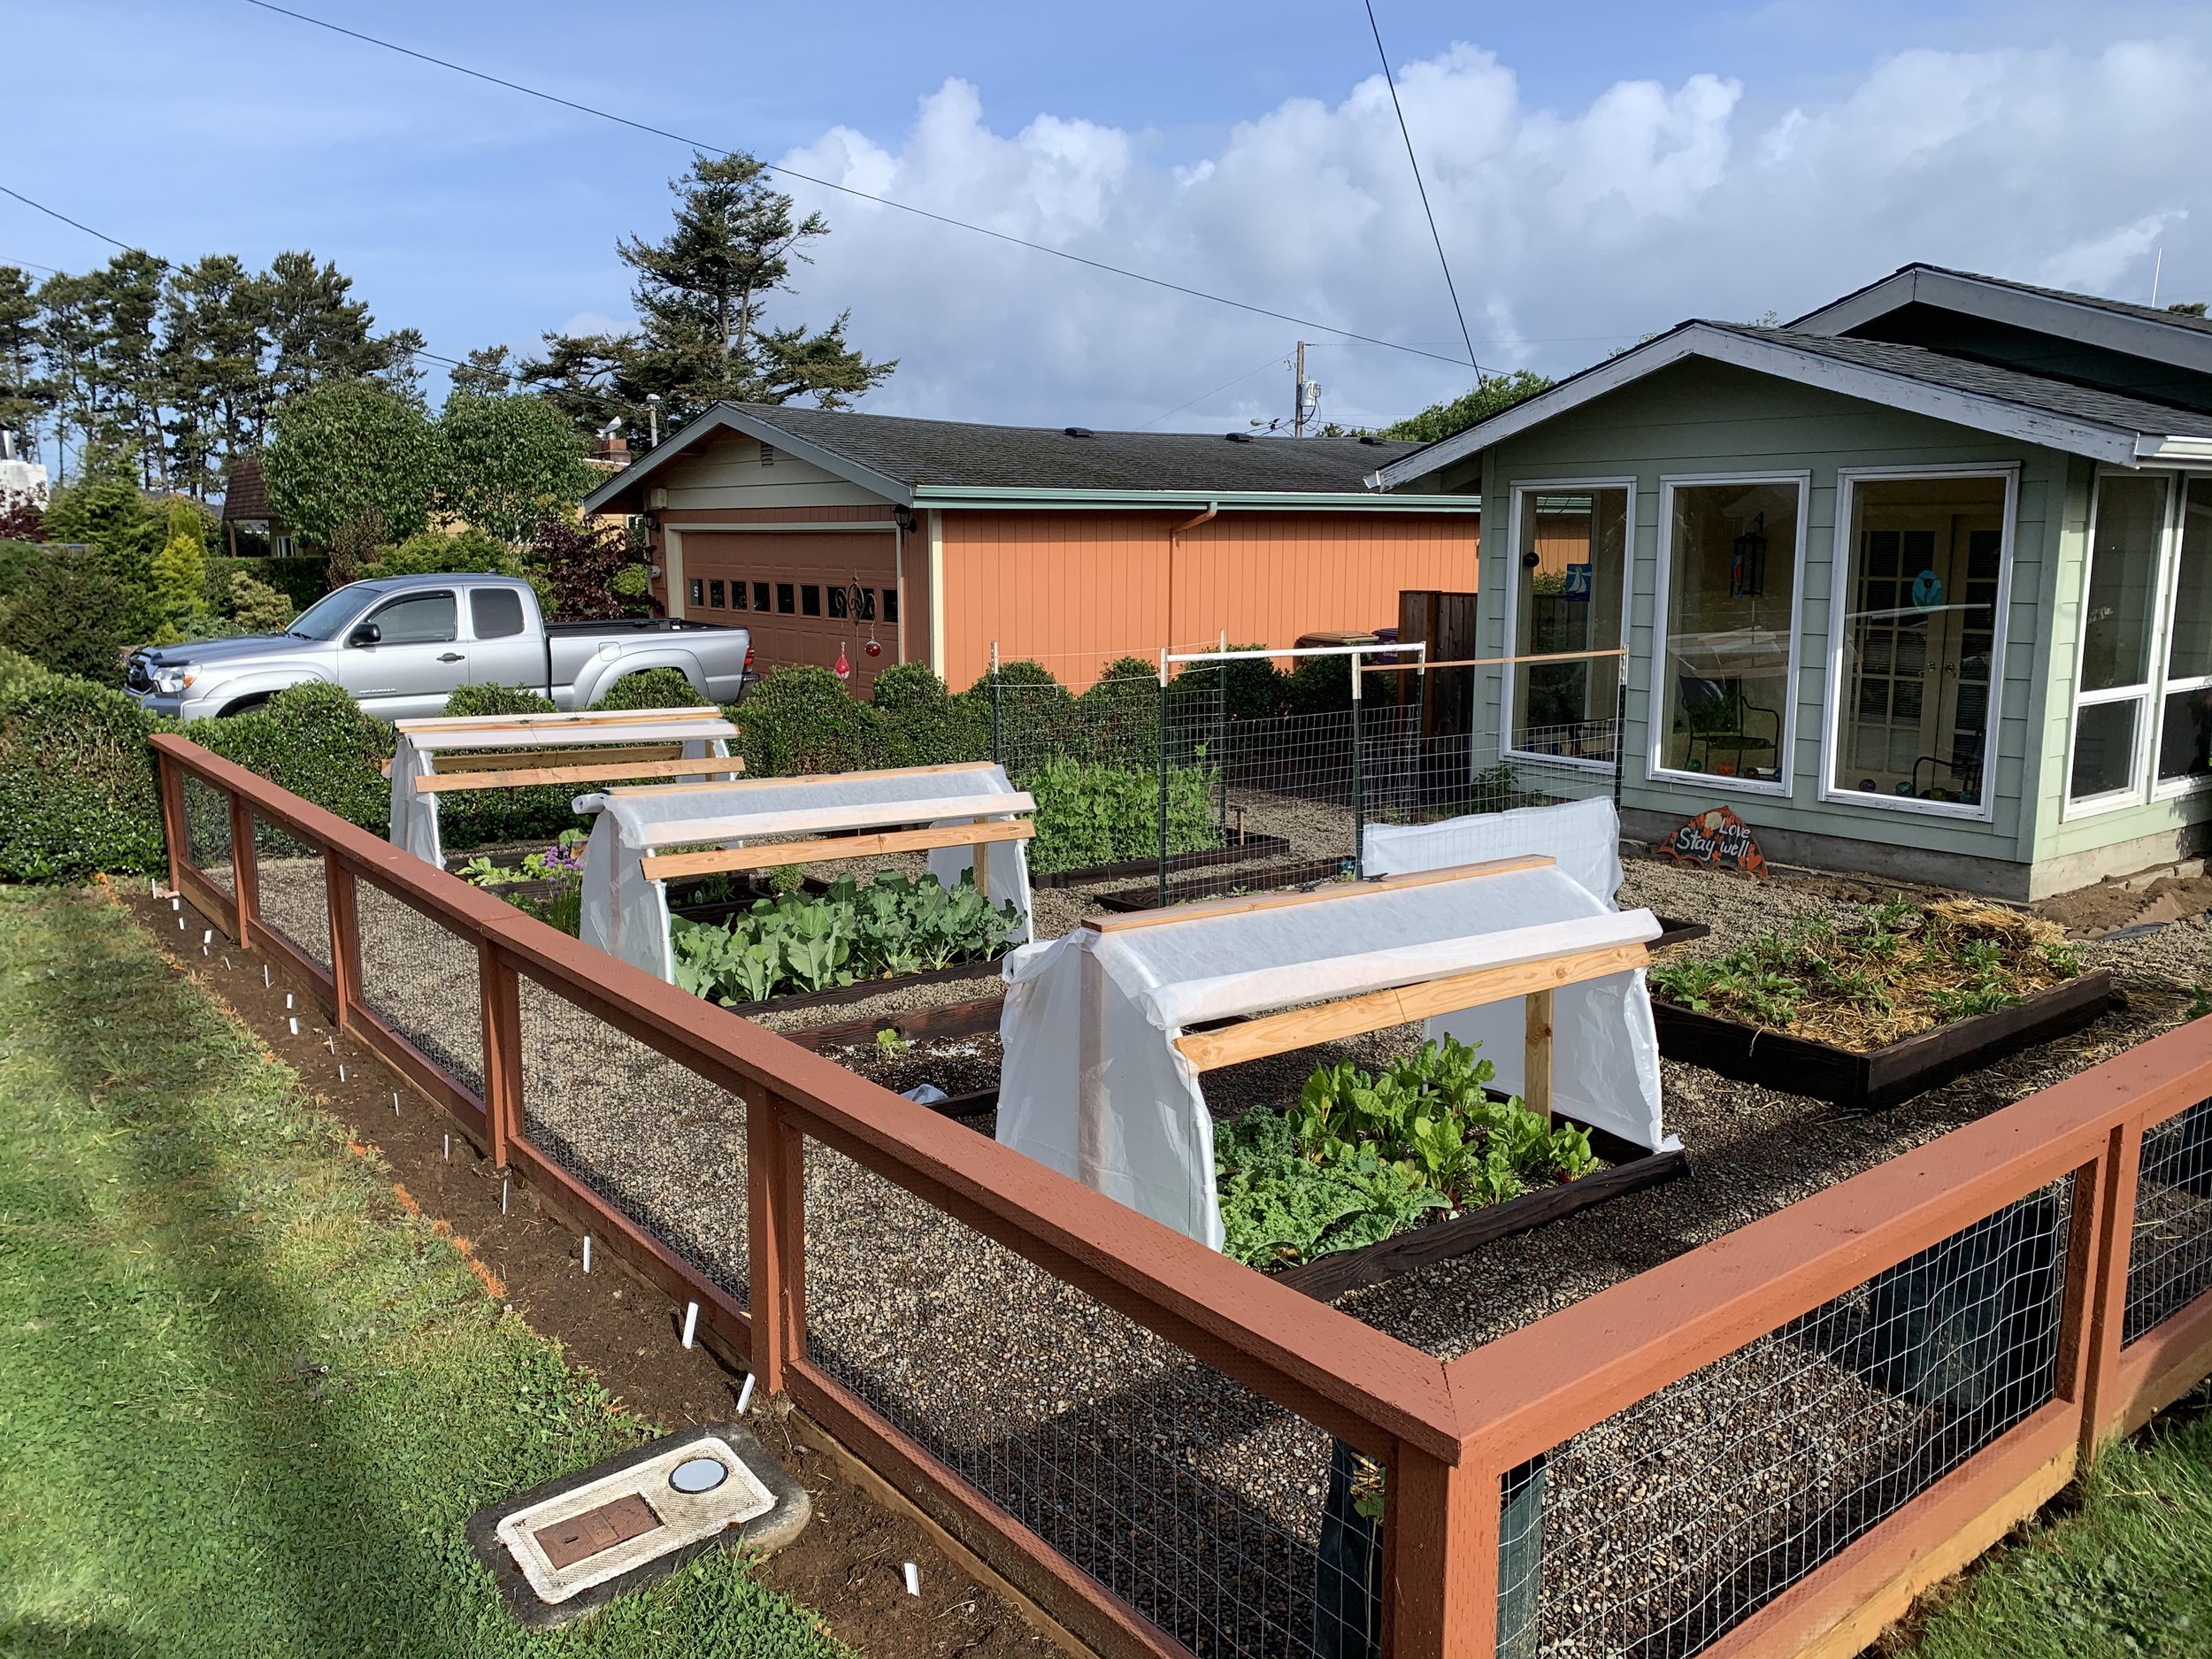
We added "OSU Cloches" covered with Remay over our crops that were most susceptible to insect damage. Click on the image to get plans.

The grass between beds was too difficult to maintain and our feet got muddy and wet while working in the garden. So we ordered seven yards of pea gravel and shoveled it into place - by hand, again with the help of our community garden members.

What a difference the gravel makes for looks and functionality!
We added "OSU Cloches" covered with Remay over our crops that were most susceptible to insect damage. Click on the image to get plans.

And with a little TLC the garden took off!

Our first crop of broccoli and no pests!
![IMG_2819[1].JPG](https://images.squarespace-cdn.com/content/v1/61c92e1eb0c9ba153fcc0e1f/a302eda3-e1d7-4773-9c0d-8410eed9ee6c/IMG_2819%5B1%5D.JPG)
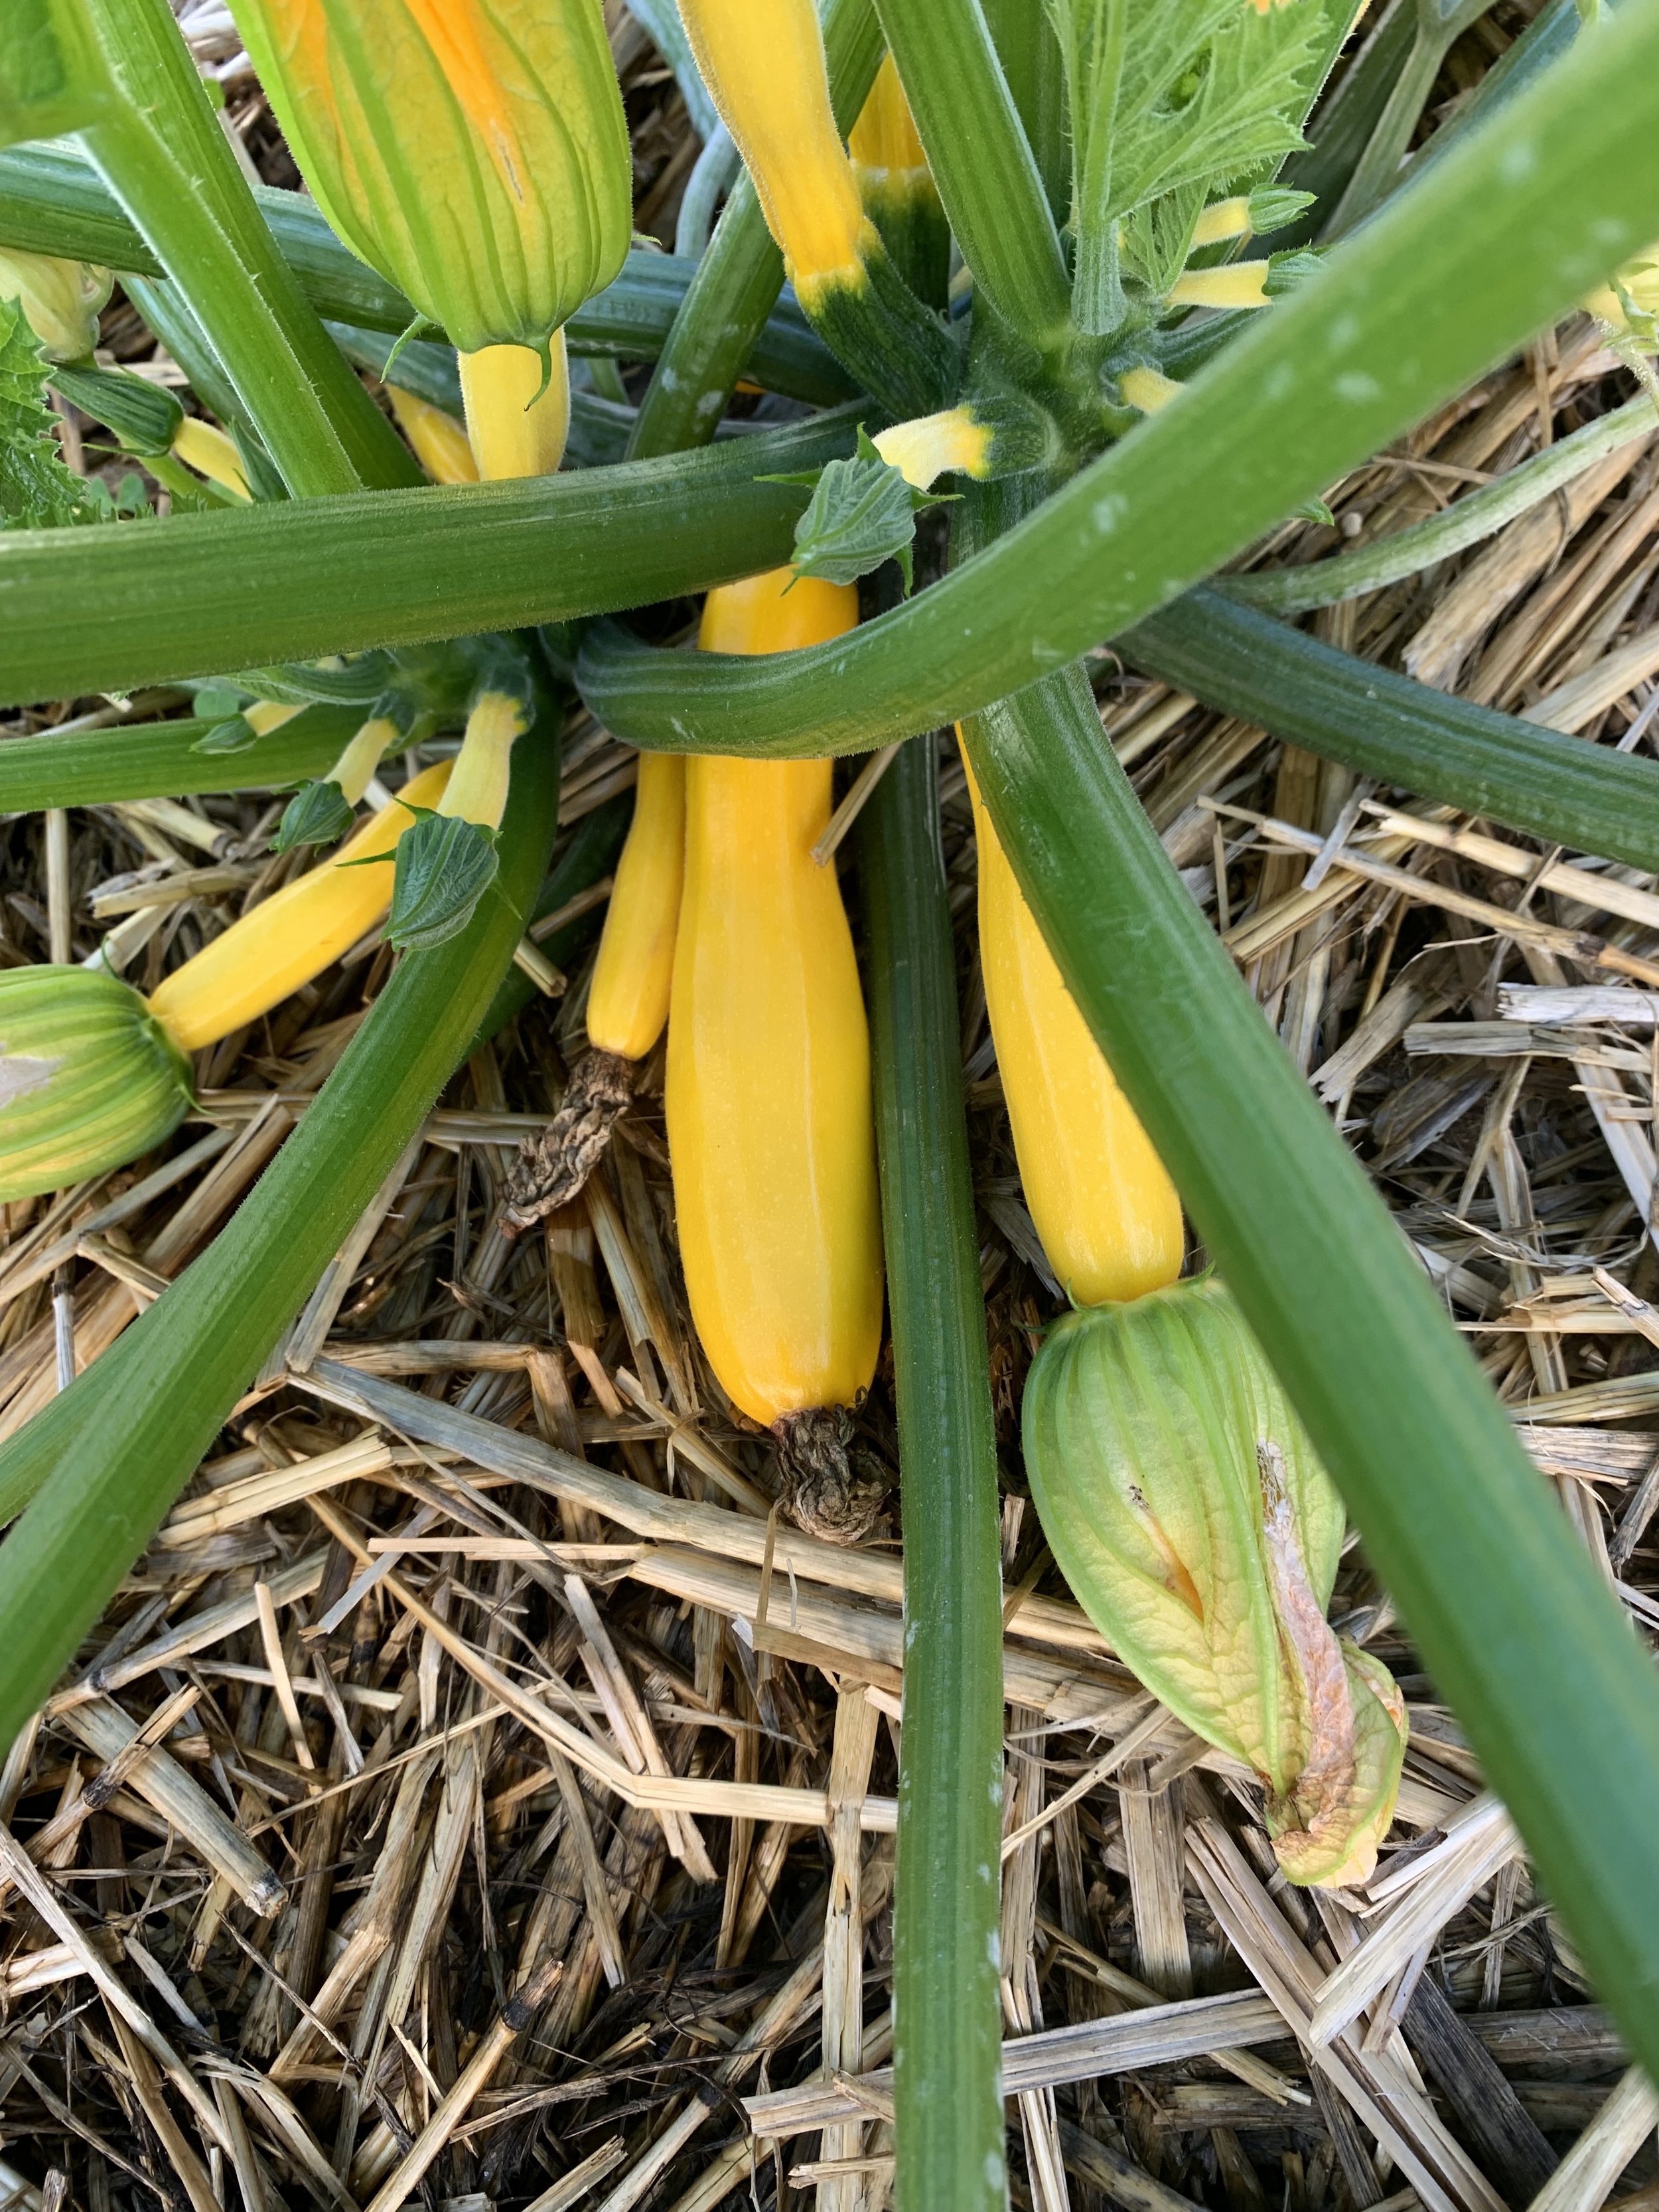
Summer squash anyone!
![IMG_2821[1].JPG](https://images.squarespace-cdn.com/content/v1/61c92e1eb0c9ba153fcc0e1f/f5b8ca8a-fbf9-4ca0-a890-ca456be1be4b/IMG_2821%5B1%5D.JPG)
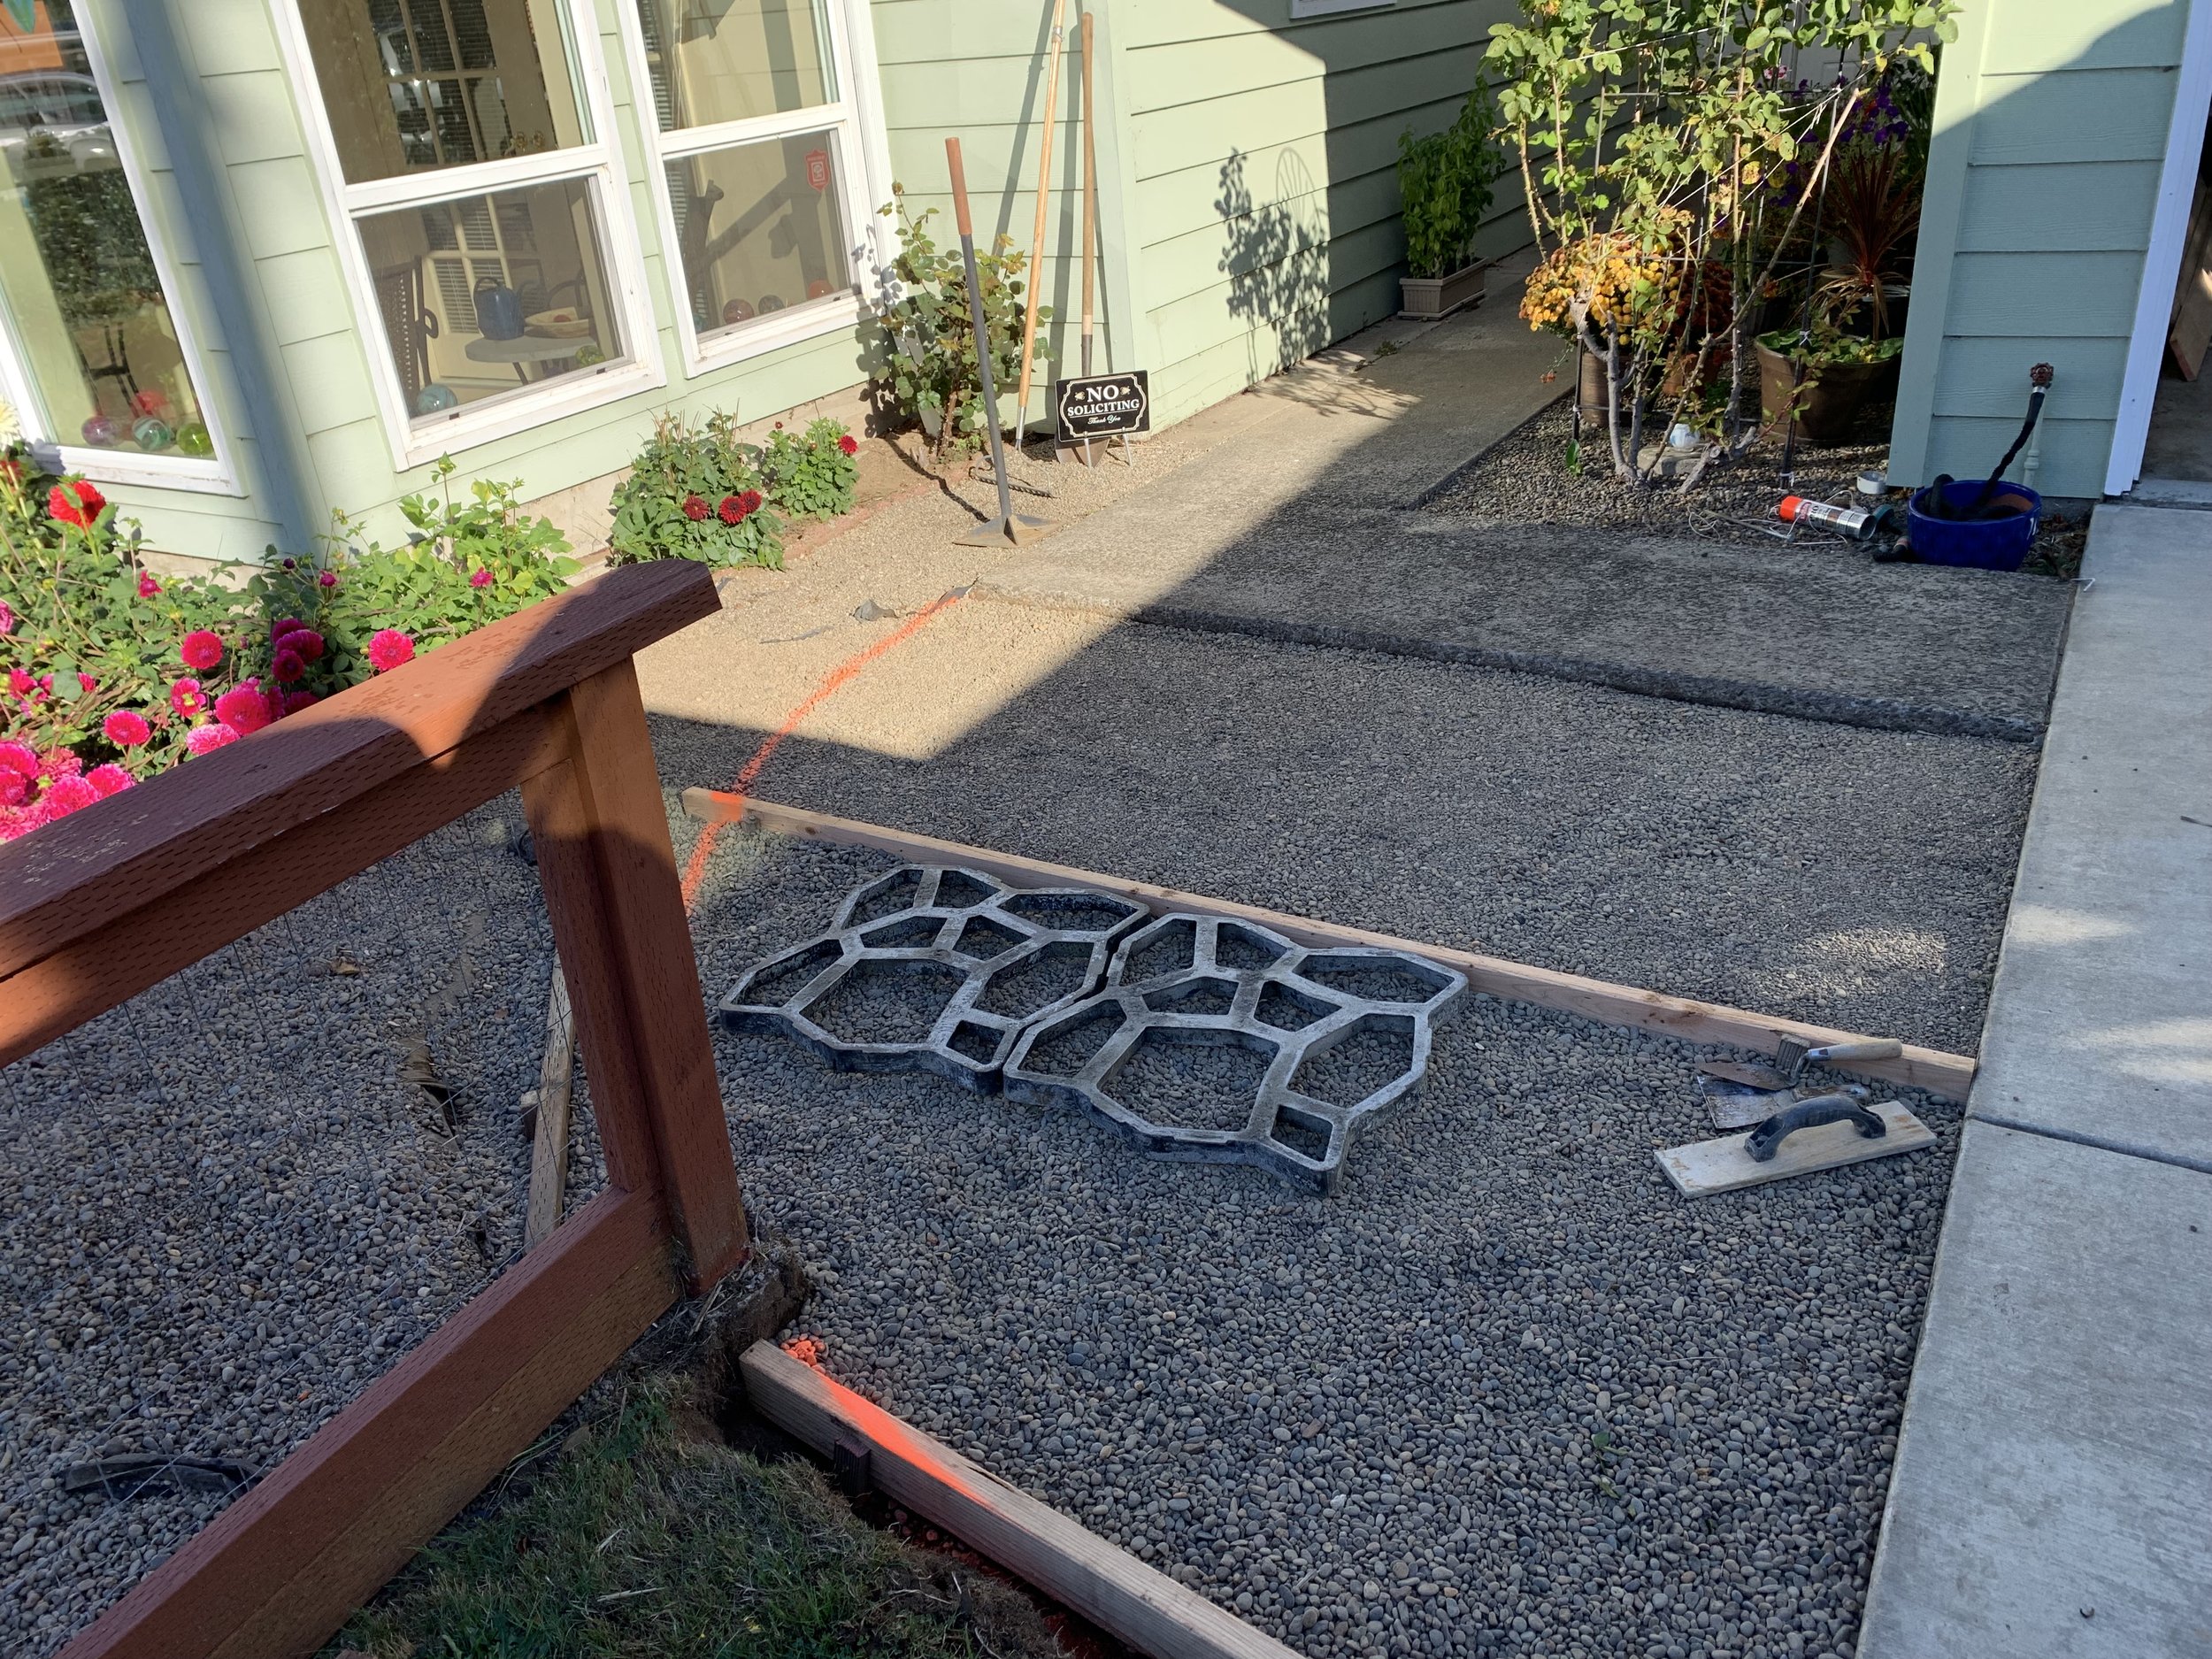
We laid out and leveled the garden entry in preparation for concrete work. Click on the image to see the forms we used
It was wonderful to have help from our community garden members.

The final product is beautiful.
